ESPHome Complete Setup Guide 2026: DIY Sensors That Just Work
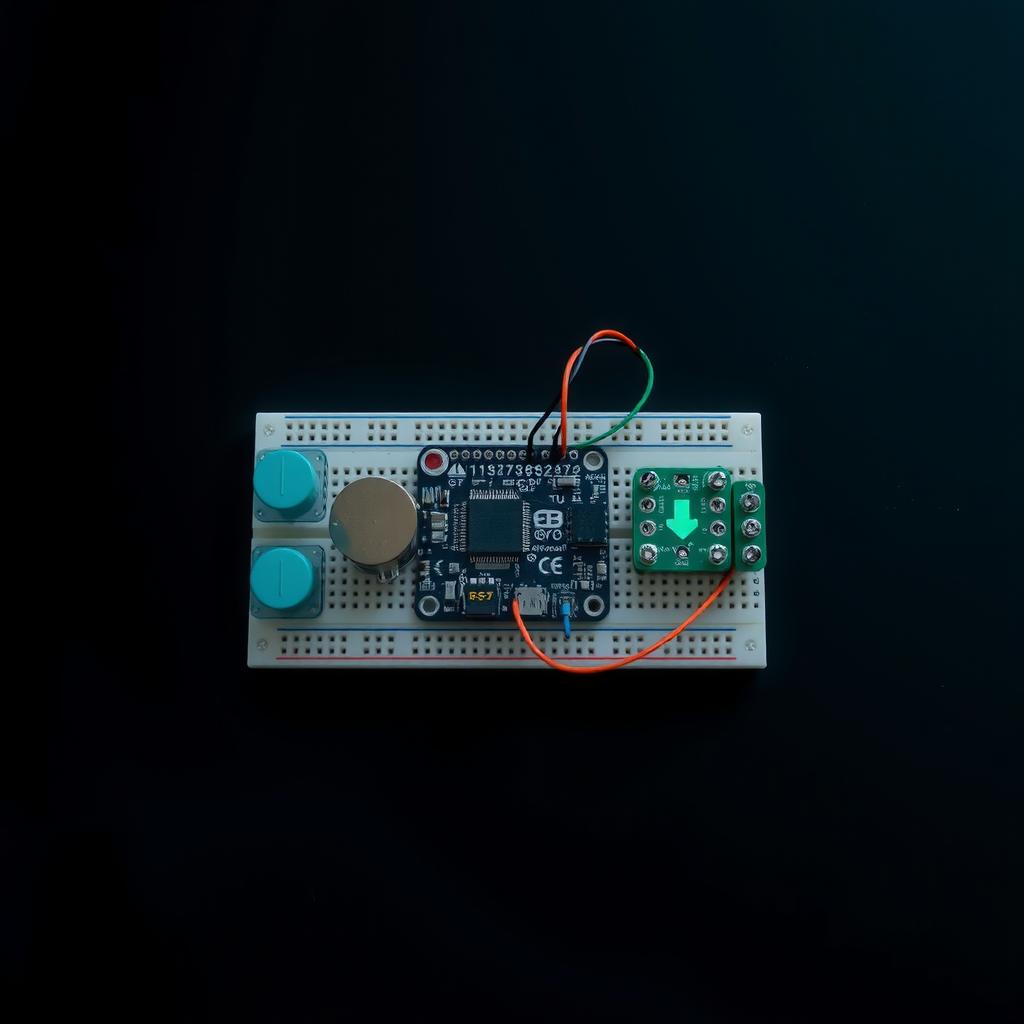
You bought a pack of ESP32 development boards for roughly $12, a handful of DHT22 sensors [2], and maybe a PIR motion detector. You know these chips can read temperature, detect movement, and control relays — but the Arduino IDE workflow feels clunky, and uploading code over USB every time you change a pin assignment gets old fast.
ESPHome solves this. It replaces the write-compile-upload cycle with a YAML configuration file. You describe what sensors and outputs you want, ESPHome generates the firmware, and pushes it over Wi-Fi. No Arduino IDE, no platformio CLI, no manual #include management.
This guide walks through the entire ESPHome workflow — from installing the dashboard on Home Assistant to flashing your first board OTA.
What You’ll Build
By the end of this guide you’ll have an ESP32 reading temperature, humidity, and motion — updating Home Assistant every 30 seconds — that you can reconfigure from a browser without touching a USB cable.
Hardware You’ll Need
| Item | Cost | Notes |
|---|---|---|
| ESP32 development board | $5–10 | ESP32-DevKitC, NodeMCU-32S, or any ESP32 with USB |
| USB-C / Micro-USB cable | $3 | Data cable, not charge-only |
| DHT22 temperature/humidity sensor | $4 | AM2302 equivalent; BME280 also works |
| HC-SR501 PIR motion sensor | $3 | 3.3V compatible version preferred |
| Jumper wires (female-to-female) | $3 | 10 cm length |
| Breadboard | $5 | Optional but handy for prototyping |
| Total starter cost | ~$28 | Enough for 2–3 sensors |
For a first build, start with just the ESP32 and a DHT22. Add the PIR once you’ve confirmed the OTA workflow works.
Step 1: Install ESPHome
ESPHome runs in two places: a dashboard (the web UI for managing devices) and the firmware compiler (generates and flashes binaries). The easiest way to get both is through the Home Assistant add-on.
- In Home Assistant, go to Settings → Add-ons → Add-on Store
- Search for “ESPHome” — the official add-on by esphome
- Click Install (takes ~2 minutes depending on hardware)
- Leave all defaults, click Start
- Click Open Web UI — you’re now in the ESPHome dashboard
If you don’t run Home Assistant, you can install ESPHome standalone:
pip install esphome
esphome dashboard /path/to/config
# Opens at http://localhost:6052
But the add-on path is simpler and auto-integrates with Home Assistant’s ESPHome integration.
Step 2: Create Your First Device
In the ESPHome dashboard, click New Device:
- Enter a name like
living-room-sensor— hyphens only, no spaces - Select ESP32 as the board type (or ESP8266 if you’re using one)
- Pick a Wi-Fi network from the scan or enter SSID/password manually
- Click Next → Install
On the install screen, choose Plug into this computer and select the serial port your ESP32 is connected to. The dashboard compiles the firmware and flashes it via USB. The first compile downloads toolchains and takes 3–5 minutes; subsequent compiles take under 30 seconds.
First flash only: After the initial USB flash, all updates go over Wi-Fi. Leave the USB cable connected until you verify OTA works.
Step 3: Wire Up a Temperature and Humidity Sensor
With the ESP32 flashed, turn it off and wire a DHT22:
ESP32 (3.3V)  → DHT22 VCC (pin 1)
ESP32 (GND)   → DHT22 GND (pin 4)
ESP32 (GPIO4) → DHT22 Data (pin 2)
Place a 10 kΩ pull-up resistor between DHT22 VCC and Data pins. Some DHT22 breakout boards include this resistor. If yours didn’t come with one, add it — without it, readings will be erratic or fail entirely.
DHT22 Pinout Reference
| DHT22 Pin | Label | Connect To |
|---|---|---|
| 1 | VCC | ESP32 3.3V |
| 2 | DATA | ESP32 GPIO4 (with 10 kΩ to VCC) |
| 3 | NC | Leave unconnected |
| 4 | GND | ESP32 GND |
Step 4: Add the Sensor Configuration
Back in the ESPHome dashboard, click Edit on your device. Replace the default YAML with:
esphome:
  name: living-room-sensor

esp32:
  board: esp32dev
  framework:
    type: arduino

# Enable logging and OTA
logger:
ota:
  password: "your-ota-password"

wifi:
  ssid: "YourWiFiSSID"
  password: "YourWiFiPassword"

  # Fallback hotspot — lets you reconfigure if WiFi fails
  ap:
    ssid: "Living-Room-Sensor-Fallback"
    password: "fallback-password"

captive_portal:

# Home Assistant native API — no MQTT needed
api:
  encryption:
    key: "your-encryption-key-here"

# --- Sensors ---

sensor:
  - platform: dht
    pin: GPIO4
    model: DHT22
    temperature:
      name: "Living Room Temperature"
      unit_of_measurement: "°C"
      accuracy_decimals: 1
    humidity:
      name: "Living Room Humidity"
      accuracy_decimals: 0
    update_interval: 30s

  - platform: wifi_signal
    name: "Living Room WiFi Signal"
    update_interval: 60s

binary_sensor:
  - platform: gpio
    pin: GPIO5
    name: "Living Room Motion"
    device_class: motion
    filters:
      - delayed_on: 100ms  # Debounce
      - delayed_off: 5s     # Hold state for 5 seconds

text_sensor:
  - platform: version
    name: "Living Room ESPHome Version"
Key configuration notes:
api:with encryption — This is the preferred way to connect to Home Assistant in 2026. It creates an encrypted native connection without requiring MQTT. ESPHome generates an encryption key in the dashboard when you first set up the API.ota:password — Set this to something memorable. You’ll need it for OTA updates triggered from the command line or the dashboard.update_interval: 30s— Fast enough for real-time dashboards, slow enough to avoid wearing out the DHT22 (reading more than once per second damages the sensor [2]).delayed_on / delayed_off— These filters prevent flickering from brief false triggers. A 100 ms debounce ignores electrical noise; the 5-second hold keeps the state visible long enough for automations.
GPIO Pin Assignments
| Component | ESP32 GPIO | Notes |
|---|---|---|
| DHT22 data | GPIO4 | Can use any digital GPIO |
| PIR output | GPIO5 | Use 3.3V PIR; 5V PIRs need a level shifter |
| Built-in LED | GPIO2 | Active high on most ESP32 dev boards |
Click Save and then Install → Wirelessly (or manually download the binary and flash via USB). The dashboard compiles and sends the firmware OTA in about 20 seconds.
Step 5: Confirm Devices in Home Assistant
Within 30 seconds of the ESP32 rebooting, devices appear in Home Assistant automatically — no integration to configure, no MQTT topics to subscribe to.
- Go to Settings → Devices & Services → ESPHome
- You should see
living-room-sensorlisted - Click through — you’ll find entities for temperature, humidity, motion, and WiFi signal
If you don’t see the device after 60 seconds:
- Check the ESP32’s blue status LED — a slow blink means it connected to WiFi and the API is running
- The ESPHome dashboard shows real-time logs: click the device → Logs
- Look for
[D][dht:062]: Got Temperature=...to confirm sensor readings - If the log shows
[E][wifi:xxx] Reason: Auth Error, check your Wi-Fi password
Step 6: Write an Automation Using Your New Sensor
With temperature and motion entities in Home Assistant, you can build automations that respond to real conditions. Here’s one that turns on a smart plug (connected to a space heater) when the room temperature drops below 18°C and someone is present:
alias: "Living Room — Heat When Cold and Occupied"
trigger:
  - platform: numeric_state
    entity_id: sensor.living_room_temperature
    below: 18
  - platform: state
    entity_id: binary_sensor.living_room_motion
    to: "on"
condition:
  - condition: numeric_state
    entity_id: sensor.living_room_temperature
    below: 18
action:
  - service: switch.turn_on
    target:
      entity_id: switch.space_heater
Add a companion automation to turn the heater off once the room warms up, and you have thermostat-like control for roughly $10–15 in sensor components [1] plus whatever smart plug you already own.
Step 7: Master OTA Updates
The killer feature of ESPHome is OTA (over-the-air) updates. After the initial USB flash, every subsequent configuration change happens over Wi-Fi.
To push an OTA update:
- Edit the YAML in the ESPHome dashboard
- Click Install → Wirelessly
- The device reboots with new firmware — no USB cable needed
If OTA fails:
- The device must be on the same network as the ESPHome dashboard
- Check that
ota:config includes apassword:that matches - If the ESP32 crashes mid-OTA, it may be unreachable via Wi-Fi. You’ll need to re-flash via USB: put the ESP32 into flash mode (hold BOOT, press EN, release BOOT), then use the USB install option
Best practice: Always enable the fallback AP in your WiFi config (wifi.ap:). If your network changes or the ESP32 can’t connect, it creates a Wi-Fi hotspot you can join to push a corrected config.
Going Beyond the Starter Build
Once you’ve confirmed the basic sensor works, here’s what to build next:
Battery-Powered Sensor (ESP32 + BME280 + Deep Sleep)
Modify the config to enter deep sleep between readings. An ESP32 with deep sleep draws ~10 µA — a 2000 mAh battery lasts over a year:
esp32:
  board: esp32dev
  framework:
    type: arduino

deep_sleep:
  run_duration: 10s
  sleep_duration: 5min

sensor:
  - platform: bme280_i2c
    temperature:
      name: "Bedroom Temperature"
    humidity:
      name: "Bedroom Humidity"
    pressure:
      name: "Bedroom Pressure"
    address: 0x76
    update_interval: 10s
Relay Controller
Add a relay module to switch mains-powered devices:
switch:
  - platform: gpio
    pin: GPIO12
    name: "Living Room Lamp"
    icon: "mdi:lamp"
Safety warning: ESP32 GPIO pins output 3.3V, not 5V. If your relay module expects 5V on the trigger pin, you need a logic level shifter or a MOSFET driver. Directly connecting 5V to a GPIO pin destroys the ESP32. Use a relay board with a built-in optocoupler (most $5 relay modules include one) [3].
Troubleshooting
| Symptom | Likely Cause | Fix |
|---|---|---|
Sensor reads nan |
DHT22 not receiving data | Check wiring, verify pull-up resistor is 4.7–10 kΩ |
| Device not appearing in HA | API encryption mismatch | Delete the device from HA’s ESPHome integration and let it rediscover |
| “OTA Error: Connection refused” | ESP32 not on network or OTA password wrong | Verify Wi-Fi; re-flash via USB to reset OTA config |
| Motion sensor always on | PIR triggered by AC heat or LED flicker | Add delayed_on: 500ms filter; check PIR is 3.3V not 5V |
| Compilation fails | Wrong board selected | For ESP32 DevKit-C, use board: esp32dev; for NodeMCU, use board: nodemcu-32s |
| Deep sleep device wakes but doesn’t connect | WiFi reconnect timeout | Add fast_connect: true under wifi: and use a 2.4 GHz-only SSID |
What You’ve Built
You now have an ESP32-based sensor node that reports temperature, humidity, and motion to Home Assistant over an encrypted native connection — no MQTT broker, no cloud service, no vendor lock-in. You can reconfigure it from a browser, push updates over Wi-Fi, and build automations around real sensor data.
For roughly $28 in parts [1] and an hour of setup time, you’ve replicated the core functionality of a $60–80 commercial sensor that phones home to a Chinese cloud server. And unlike the commercial option, you can add any sensor you want — a CO₂ meter, a soil moisture probe, a door contact, a current clamp — by editing a YAML file and clicking Install.
Sources:
- ESPHome official installation guide
- DHT22 datasheet — Aosong Electronics, maximum read frequency 0.5 Hz
- ESP32 GPIO maximum ratings — ESP32 Technical Reference Manual, Section 4.3
- ESPHome native API encryption
- ESPHome deep sleep configuration
📖 Related Reads
- NoCode Insider — AI workflow automation with no-code tools, agents, and APIs
Cross-links automatically generated from SmartHome Field Guide.
← Back to guides