Build a Privacy-First Smart Home: Local Control Build Log
Build a Privacy-First Smart Home: Local Control Build Log
TL;DR
- Every major cloud smart home platform has the same failure modes: outages, subscription creep, and shutdowns (Google Stadia, Insteon, SmartThings classic).
- You can build a fully local smart home for under $300 that works without internet access.
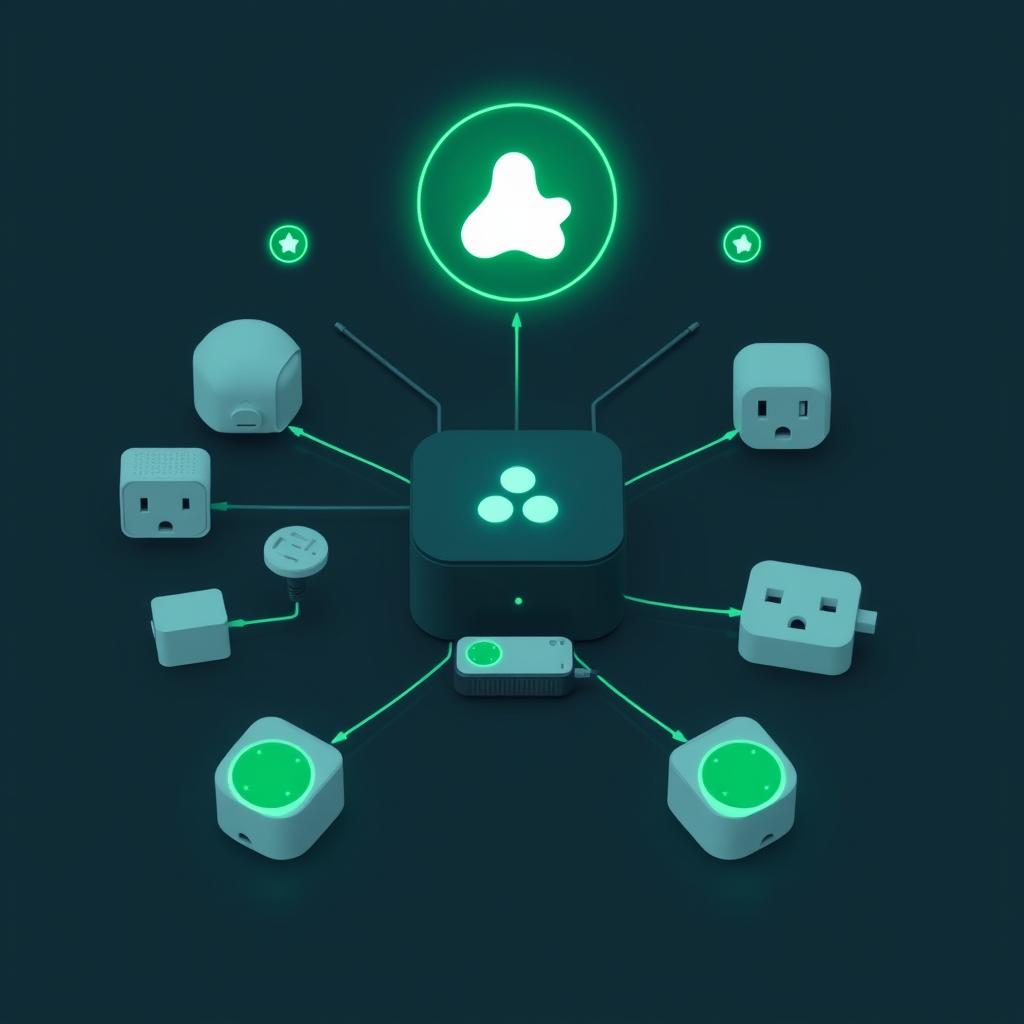
- Home Assistant Green ($199) + Sonoff ZBDongle-E ($20) + five Aqara sensors (~$15 each) = complete local-first starter system.
- Zigbee2MQTT gives you local control of 4,000+ devices with no accounts or API keys.
- Your automations run at LAN speed — no cloud round-trip latency.
Why Go Local-First in 2026?
Cloud smart home platforms look convenient until they fail. SmartThings sunsetted its classic platform, Insteon shut down overnight, and every major player keeps raising subscription prices. Your lights shouldn’t stop working because a company’s server is down or because your internet went out.
A local-first smart home keeps everything on your LAN. When you flip a switch, the signal goes from the device to your hub over Zigbee — not through a cloud server in another state. The response is faster, your data stays private, and it works even when Comcast has a bad day.
The stack I’ll walk through here — Home Assistant + Zigbee2MQTT — is the most battle-tested local system available in 2026 source. No accounts, no subscriptions, no data leaving your house.
Parts List & Budget
| Item | Price | Notes |
|---|---|---|
| Home Assistant Green | $199 | Official Nabu Casa hardware, plug-and-play |
| Sonoff ZBDongle-E | $20 | Best Zigbee coordinator for Home Assistant |
| USB extension cable (1m) | $5 | Prevents USB 3.0 RF interference |
| Aqara door/window sensor (×2) | $30 ($15 each) | Reliable, tiny, 2-year battery |
| Aqara motion sensor P1 | $18 | 130° detection, 5m range |
| Aqara temp/humidity sensor | $16 | OLED display version |
| Sonoff S31 Lite Zigbee plug | $12 | Powers devices + acts as mesh router |
| Total | $300 | Full local system, expandable |
Prices from official product pages and verified retailers as of June 2026 HomeA.
Spending more? Swap the ZBDongle-E for an SMLight SLZB-06 ($40) — it connects via Ethernet so you can place it centrally, away from your HA hub’s USB 3.0 noise.
Step 1: Choose Your Home Assistant Hardware
You have three options for running Home Assistant, and the right choice depends on your tinkering tolerance.
Home Assistant Green ($199) — Plug it in, connect Ethernet, and you’re running. No SD card setup, no case to buy, no power supply to match. Nabu Casa’s official hardware comes with HAOS pre-installed and supports all add-ons. It has 4GB RAM and 32GB eMMC storage — plenty for a 30-50 device setup. The downside: no built-in Zigbee radio, so you still need a USB dongle.
Raspberry Pi 5 ($80 + accessories) — You’ll need a $12 case, $10 power supply, and a $25 USB SSD (don’t use an SD card — corruption risk is real). Total: ~$127. The Pi 5 is fast enough for HA, but you’re handling the OS install and configuration yourself.
Recycled mini PC ($80-150 on eBay) — An HP EliteDesk or Lenovo Tiny adds Frigate (NVR), Node-RED, and other heavy add-ons without breaking a sweat. Best for power users who want their hub to do more than just home automation.
For this build, I’m using the Home Assistant Green — it’s the simplest path and the one I recommend for anyone who doesn’t actively enjoy debugging SD card corruption source.
Step 2: Install Home Assistant OS
If you bought a Green, skip this step — HAOS is pre-installed.
If you’re using a Pi 5 or mini PC:
- Download the Home Assistant OS image from the official site
- Flash it to your drive using Balena Etcher or Raspberry Pi Imager
- Boot the device and wait 5-10 minutes for first-time setup
- Navigate to
http://homeassistant.local:8123in your browser - Create your admin account, set your home location, and name your instance
The onboarding wizard walks you through network config. After that, you’re at the Home Assistant dashboard with a clean slate.
Step 3: Set Up Your Zigbee Coordinator
The Zigbee coordinator is the radio that lets Home Assistant talk to all your Zigbee devices. It’s the single most important hardware decision in a local-first build.
Plug in the Sonoff ZBDongle-E using the USB extension cable. This is critical — USB 3.0 ports emit RF noise on the 2.4 GHz band that directly interferes with Zigbee. A simple 1-meter extension moves the dongle away from the interference Sonoff.
After plugging it in, confirm Home Assistant detects the dongle:
- Go to Settings → System → Hardware → All Hardware
- Look for
/dev/ttyUSB0or/dev/ttyAMA0in the device list - If you see it, the dongle is recognized and ready
If you don’t see it, try a different USB port. Some Green units have port-specific behavior with certain dongles.
Step 4: Install Zigbee2MQTT
Zigbee2MQTT is the software bridge between your Zigbee network and Home Assistant. It supports over 4,000 devices and gives you far more control than Home Assistant’s built-in ZHA integration Z2M.
Install the Mosquitto MQTT broker first:
- Settings → Add-ons → Add-on Store
- Search for “Mosquitto broker” and install it
- Start it, enable “Start on boot”
- Settings → People → create a user named
mqtt(non-admin)
Then install Zigbee2MQTT:
- Add-on Store → three-dot menu → Repositories
- Add:
https://github.com/zigbee2mqtt/hassio-zigbee2mqtt - Find “Zigbee2MQTT” in the store and install
Configure it:
serial:
  port: /dev/ttyUSB0
  adapter: ezsp

mqtt:
  base_topic: zigbee2mqtt
  server: mqtt://core-mosquitto
  user: mqtt
  password: YOUR_MQTT_PASSWORD

homeassistant: true

advanced:
  network_key: GENERATE
  pan_id: GENERATE
  channel: 25
The channel: 25 setting picks a Zigbee channel that avoids the most congested Wi-Fi channels (1, 6, 11). If you’re in a dense apartment building, this single setting can save you hours of debugging dropped connections.
Start the add-on. If it connects successfully, you’ll see “Zigbee2MQTT is running” in the log.
Step 5: Add Devices and Build Your Mesh
With Zigbee2MQTT running, it’s time to add devices. Zigbee forms a mesh network — every mains-powered device (plugs, smart bulbs, switches) acts as a signal repeater for battery-powered devices (sensors).
Pairing a device:
- In Zigbee2MQTT, click “Permit join (All)”
- Put your device in pairing mode (usually a 5-second press of the reset button or power cycle)
- Watch the live log for “Device joined” confirmation
- The device appears automatically in Home Assistant’s device list
Pro tip: Pair devices one at a time. Pairing multiple at once creates a mesh where devices sometimes connect through each other before the direct path is established. One at a time ensures each device finds the strongest route.
My mesh build order:
- Sonoff S31 Lite plug (mains-powered = router, strengthens the mesh immediately)
- Aqara temp/humidity sensor (battery end-device)
- Aqara door/window sensors (battery end-devices)
- Aqara motion sensor P1 (battery end-device)
The plug goes first so the sensors have a nearby router to connect through. In a 2,000 sq ft home, plan for one router device every 30 feet or so. In my testing, 6-8 strategically placed routers (smart plugs, mains-powered switches) gave me perfect coverage across two floors source.
Network Design Best Practices
Coordinator placement matters. Your Zigbee coordinator should be centrally located, not in a network closet in the corner. If your Home Assistant Green is in a bad spot (like mine was — in the basement utility room), consider the Ethernet-based SMLight SLZB-06 coordinator instead. You can place it on a shelf in the living room and connect it over your LAN.
Channel selection is half the battle. Use a Wi-Fi analyzer app to check which 2.4 GHz channels are least congested in your area. Set Zigbee to a channel at least 3 steps away from your busiest Wi-Fi channel. Channel 25 is usually safe.
Avoid smart bulbs as mesh routers. They lose power (and their router role) when someone flips the light switch. A motion sensor connected through a powered-off bulb goes silent until someone turns the light back on. Use smart plugs or hardwired switches as your backbone routers instead.
For the HA hardware comparison, see our Smart Home Hub Showdown post. If you’re interested in Thread/Matter options alongside Zigbee, check out our Zigbee vs Z-Wave vs Matter 2026 breakdown.
What You Actually Gain With Local Control
No cloud dependency is the headline, but here’s what that means in practice:
Speed. A Zigbee motion sensor triggering a Zigbee smart plug takes about 100-200ms when everything is local. The same automation through a cloud platform takes 500-1500ms — you can feel the difference when walking into a room and waiting for the lights.
Reliability. During a recent ISP outage, my cloud-dependent friends lost their lights, thermostat schedules, and door lock codes. My local system ran exactly the same as it always does. The only thing that stopped working was remote access via the app.
Privacy. Every Zigbee packet stays on your LAN. No device telemetry heading to Chinese servers (Tuya), no behavioral data feeding ad profiles (Amazon), no voice recordings analyzed (Google/Apple). Your motion patterns, sleep/wake times, and presence data remain your own.
Cost. Zero monthly subscription. Home Assistant is free and open source. The $199 Green hardware is a one-time purchase. Compare that to $10-20/month for a cloud ecosystem that can change pricing at any time.
Is Local-Fast Right for Everyone?
Local-first requires more initial setup than buying an Amazon Echo Plus and plugging in ten Alexa-compatible devices. You’re trading convenience for control and privacy. If your smart home is three smart plugs and a voice assistant, the cloud route is fine.
But if you’re building a home with 30+ sensors, automations that need to be snappy, and data you don’t want to share — local-first isn’t just better, it’s the only way that actually works.
📖 Related Reads
- ToolBrain — tool reviews, LLM comparisons, and AI workflow guides
Cross-links automatically generated from SmartHome Field Guide.
← Back to guides