DIY Addressable LED Lighting with WLED and Home Assistant: Complete Setup Guide
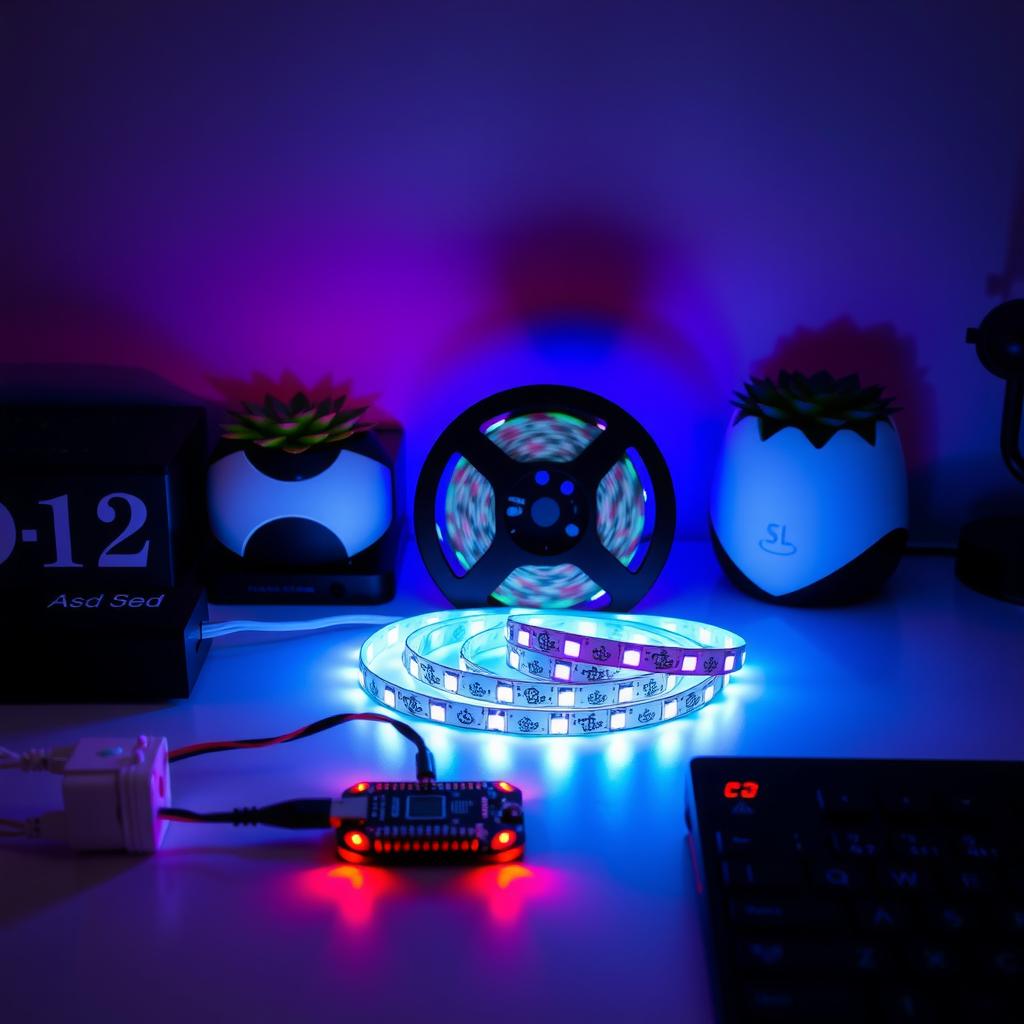
Addressable LED strips — the kind that light up in chasing patterns, react to music, or fade through rainbow gradients — used to mean proprietary controllers, closed apps, and cloud dependency. WLED changes that. It’s open-source firmware that runs on ESP8266 and ESP32 microcontrollers, turning a $5 board into a WiFi-controlled LED controller with 200+ effects, per-LED color control, and native Home Assistant integration.
This guide walks through selecting hardware, flashing WLED, wiring your strip, and connecting everything to Home Assistant for automations that treat your LED strip as a native light entity.
What You’ll Build
A WLED controller running on an ESP32, driving a WS2812B (NeoPixel-compatible) LED strip. The strip appears in Home Assistant as a regular light — controllable via the dashboard, voice assistants, and automations — with access to WLED’s special effects and segmented control.
Shopping List
| Item | Cost | Notes |
|---|---|---|
| ESP32 development board | $5–8 | ESP32-WROOM-32, NodeMCU-32S, or LOLIN32 — any works |
| WS2812B LED strip (5m, 60 LEDs/m) | $18–30 | 5V operation, ~3.6A max per 5m roll at full white |
| 5V 8A power supply | $12–18 | Oversized — never run LEDs at max rating without headroom |
| 1000 µF electrolytic capacitor | $1 | Smooths power-on inrush current |
| 3A logic-level shifter (74AHCT125) | $2 | Required for reliable data signal on long strips |
| USB extension cable (3 ft) | $5 | Shields ESP32 from USB port noise |
| Jumper wires + solderless breadboard | $5 | Prototype before soldering |
Total: ~$48–69 for a complete setup with a 5m strip, far less than any commercial addressable LED kit.
Step 1: Choose Your LED Strip
WLED supports dozens of LED chipsets, but WS2812B (NeoPixel-compatible) is the sweet spot: cheap, widely available, runs on 5V, and supports per-LED addressing at 800 Kbps data rate [1].
For a first build:
- 5 meters, 60 LEDs/meter (300 total): Standard roll, fits under a desk or behind a TV. Max current draw ~3.6A at full white per 5m — always add 20% headroom on your power supply.
- 30 LEDs/meter: Lower resolution but easier on power. Good for accent strips under cabinets.
- Waterproof (IP65/IP67): Only needed outdoors or in bathrooms. The silicone coating makes connections harder — avoid for a first build.
WS2812B runs on 5V logic, but the ESP32’s GPIO pins output 3.3V. For strips under 30 LEDs you can get away with direct wiring, but for longer runs you need a level shifter to boost the data signal to 5V. The 74AHCT125 costs $2 and prevents flickering on the far end of long strips.
Step 2: Flash WLED to the ESP32
WLED provides a web installer that works from any browser with WebSerial support (Chrome or Edge):
- Open the WLED web installer in Chrome or Edge
- Connect your ESP32 via USB
- Click Install and select the correct COM port
- Wait for the firmware to flash — takes about 30 seconds
No USB uploader or Arduino IDE needed. The web installer detects your board and writes the latest stable WLED release (v0.15.0 as of mid-2026).
If you prefer manual flashing, download the WLED_0.15.0_ESP32.bin from the WLED releases page and use ESPHome-Flasher or esptool.py:
# Manual flash via esptool (install first: pip install esptool)
esptool.py --chip esp32 --port /dev/ttyUSB0 write_flash 0x0 WLED_0.15.0_ESP32.bin
Once flashed, the ESP32 broadcasts a WiFi access point named WLED-AP. Connect to it (password: wled1234) and configure your home WiFi network through the captive portal at 4.3.2.1.
Step 3: Wire the Hardware
WS2812B strips have three or four wires: +5V (red), GND (white), DATA (green). Connect them as follows:
| LED Strip Pin | Connect To |
|---|---|
| +5V | 5V power supply positive (+), also 1000µF capacitor positive leg |
| GND | Power supply negative (-), ESP32 GND, capacitor negative leg — all share a common ground |
| DATA | Level shifter output (74AHCT125 pin 2Y) |
| Level shifter input (1A) | ESP32 GPIO2 (default WLED data pin) |
| Level shifter VCC | ESP32 3.3V |
| Level shifter OE | ESP32 3.3V (pin 1 on 74AHCT125 — must be HIGH to enable output) |
Critical rules:
- Never power the LED strip through the ESP32’s 5V pin. The strip can draw 3–4A; the ESP32’s voltage regulator can’t handle that and will overheat or fail.
- Common ground is mandatory. Connect power supply GND to ESP32 GND and strip GND at a single point. Without it, the data signal has no return path and the strip flickers or won’t light.
- Keep the data wire short between the level shifter and the strip input. Long data wires pick up noise.
Step 4: Configure WLED
After connecting to your WLED on your network (find its IP in your router’s DHCP list or check via the WLED AP management page):
- Open
http://[wled-ip]/in your browser - Go to Config → LED Preferences
- Set LED Count to match your strip (e.g., 300 for 5m at 60/m)
- Set GPIO to pin 2 (default) — or whatever pin you wired the data line to
- Set LED Voltage to 5V and maximum current to 4000 mA (80% of your PSU rating for safety)
- Click Save — the strip should light up white on the first LED
Test effects: Open the Effects tab and cycle through Chase, Rainbow, Fire, and Twinkle. If nothing lights up, check wiring (most common issue: missing common ground).
Step 5: Enable Home Assistant Integration
WLED can connect to Home Assistant via two methods. Use native auto-discovery — it’s simpler.
Method A: Native Home Assistant Auto-Discovery (Recommended)
- In WLED web UI: Config → WiFi Setup
- Scroll to MQTT / HA Discovery
- Toggle Home Assistant Discovery to On
- Click Save
Home Assistant will automatically discover the WLED device within 30 seconds. You’ll find it in Settings → Devices & Services with a single light entity per WLED segment.
Method B: Using the WLED Integration (Alternative)
If auto-discovery doesn’t work:
- In Home Assistant, go to Settings → Devices & Services → Add Integration
- Search for “WLED”
- Enter your WLED device’s IP address
- The integration creates a light entity and a diagnostic sensor (signal strength, uptime)
Bonus: MQTT-Based Control
For advanced setups (multiple WLED instances, sensor-based segment control), connect WLED to your existing MQTT broker:
- In WLED: Config → WiFi Setup → MQTT
- Enable MQTT, set your broker IP and port (1883)
- Set a unique MQTT Device Topic (e.g.,
wled/kitchen) - Save and reboot — WLED publishes status to
<topic>/stateand subscribes to<topic>/cmd
You can then control WLED via MQTT directly from Node-RED, ESPHome, or shell scripts:
# Turn on WLED via MQTT
mosquitto_pub -h 192.168.1.10 -t "wled/kitchen/cmd" -m '{"on":"t","bri":200,"seg":[{"id":0,"fx":0,"col":["#ff0000"]}]}'
Step 6: Build Automations
With WLED exposed in Home Assistant, your LED strip works like any other light. Here are three automations worth setting up.
Automation 1: Motion-Activated Under-Cabinet Lighting
Use a motion sensor (Aqara or Sonoff via Zigbee2MQTT) to turn on the strip in white mode at 30% brightness, then turn off after 5 minutes of no motion:
alias: "Kitchen under-cabinet lights on motion"
triggers:
  - trigger: state
    entity_id: binary_sensor.kitchen_motion_occupancy
    to: "on"
actions:
  - action: light.turn_on
    target:
      entity_id: light.wled_kitchen_strip
    data:
      brightness_pct: 30
      rgb_color: [255, 240, 220]  # warm white
      effect: "Solid"
  - action: light.turn_on
    target:
      entity_id: light.wled_kitchen_strip
    data:
      transition: 5
Automation 2: Sunset-to-Midnight Desk Accent
Fade the strip through a warm amber tone after sunset, switching to a dim cool blue at midnight:
alias: "Desk accent — sunset follow"
triggers:
  - trigger: sun
    event: sunset
    offset: "-00:30:00"
actions:
  - action: light.turn_on
    target:
      entity_id: light.wled_desk
    data:
      brightness_pct: 40
      rgb_color: [255, 180, 80]  # warm amber
      effect: "Slow Fade"

  - delay: "03:00:00"  # wait until ~midnight

  - action: light.turn_on
    target:
      entity_id: light.wled_desk
    data:
      brightness_pct: 15
      rgb_color: [0, 80, 255]  # dim blue
      effect: "Solid"
Automation 3: Notifications via LED Color
Flash the strip red when your front door is left open for more than 60 seconds. This uses a template sensor and WLED segments — split your strip into two zones (desk and ambient) using WLED segments, and flash only the ambient segment.
Troubleshooting
Strip doesn’t light up at all
- Check common ground. This is the #1 cause. Measure continuity between ESP32 GND, power supply GND, and strip GND.
- Verify 5V is reaching the strip. Measure between strip +5V and GND with a multimeter — should read 4.75–5.25V.
- Check GPIO pin selection. In WLED config, verify the assigned GPIO pin matches your wiring. Default is GPIO2 (D4 on NodeMCU).
First LED lights up, rest don’t
This signals a signal integrity problem:
- The data line is too long (>2m without a repeater)
- Missing level shifter on strip longer than 1m
- Loose connection at the DATA input — resolder the joint
Flickering or random colors at the far end
- Add a level shifter. ESP32’s 3.3V signal degrades over distance. The 74AHCT125 boosts it to clean 5V.
- Terminate the data line. Solder a 100Ω resistor between DATA and GND at the far end of the strip for long runs.
- Lower the data rate. In WLED config, try 400 Kbps data rate instead of 800 Kbps.
WLED connects but Home Assistant doesn’t see it
- Ensure WLED and Home Assistant are on the same VLAN/subnet
- Toggle Home Assistant Discovery off, save, toggle back on, save again
- Manually add via Settings → Devices & Services → Add Integration → WLED and enter the IP
- Check your router’s mDNS/Bonjour forwarding isn’t blocked between VLANs
Going Further
- Point-to-point segments: Split your strip into zones in WLED’s Segments tab. Each segment appears as a separate entity in Home Assistant.
- Ethernet-based WLED: Use an ESP32-PoE board ($12) for wired connectivity — useful in network closets where WiFi is weak.
- USB power calculator: Use the WLED current limit as a safety measure. Set max current in config to 80% of your PSU’s rating to prevent fire in case of a runaway effect at full white [2].
- Audioreactive effects: WLED supports sound-reactive modes via a MAX4466 microphone module ($3) wired to an analog input pin.
Sources
[1] WS2812B datasheet — WorldSemi, 5V addressable RGB LED, 800 Kbps data rate — https://cdn-shop.adafruit.com/datasheets/WS2812B.pdf [2] WLED current limiting documentation — https://kno.wled.ge/features/led-power-limiting/ [3] WLED web installer — https://install.wled.me/ [4] 74AHCT125 level shifter datasheet — Texas Instruments, 3.3V to 5V logic-level conversion — https://www.ti.com/product/SN74AHCT125 [5] WLED Home Assistant integration docs — https://kno.wled.ge/integrations/home-assistant/ [6] ESP32 GPIO safe current limits — Espressif ESP32 Technical Reference Manual, Section 4.3
← Back to guides