Complete Zigbee2MQTT Setup Guide for Home Assistant (2026)
You bought a bunch of Zigbee smart plugs, sensors, and bulbs. Maybe an Aqara contact sensor, a few IKEA TRÅDFRI bulbs, and a Third Reality motion detector. They’re sitting in a box because you haven’t decided how to connect them all.
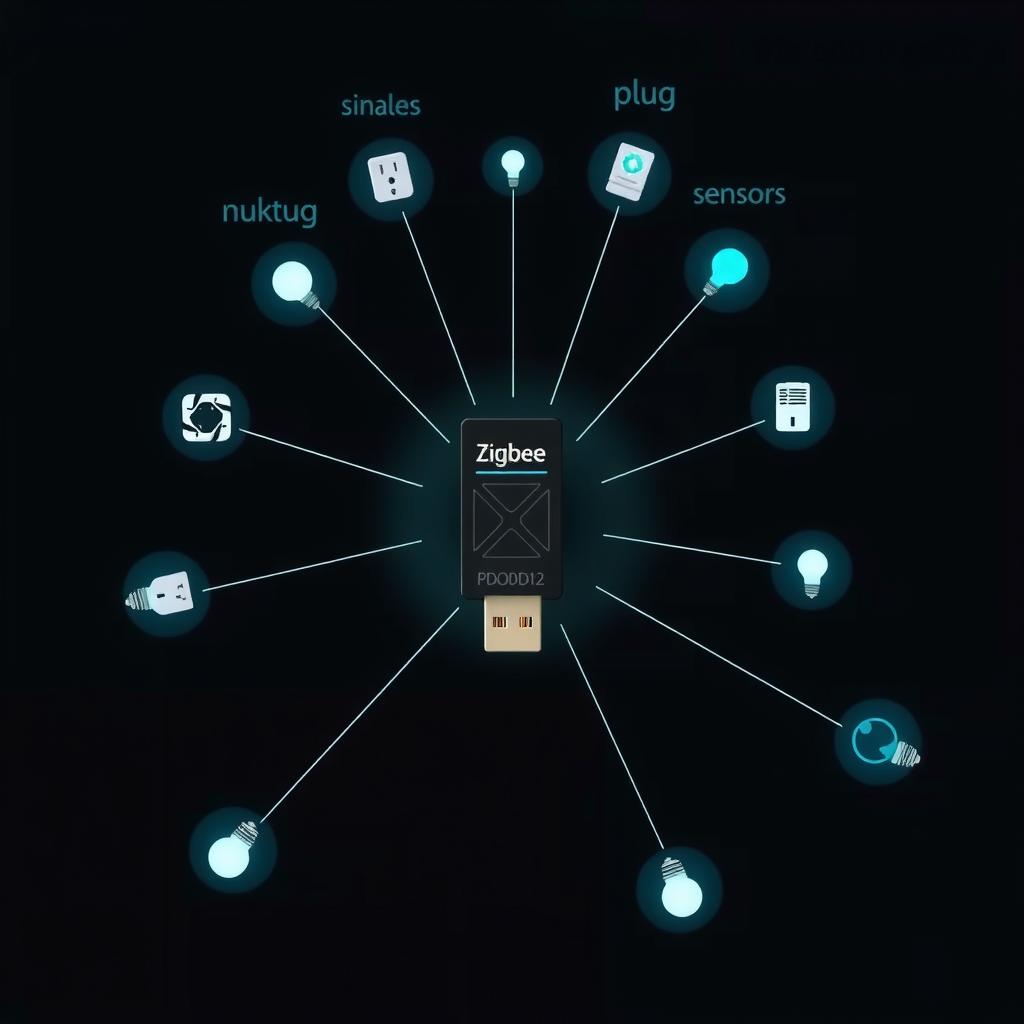
You have two choices inside Home Assistant: ZHA (built-in, simpler, less configurable) or Zigbee2MQTT (separate service, more control, better device support, network-granular tools).
This guide is for the second path. Zigbee2MQTT gives you a dedicated web dashboard for managing your Zigbee network, support for 2,000+ devices (including many obscure ones ZHA doesn’t recognize), OTA firmware updates for supported devices, and the ability to run the coordinator on a different machine than Home Assistant. It’s the power-user choice.
Here’s how to set it up from scratch.
What You’ll Build
A fully local Zigbee network connected to Home Assistant through MQTT. Every paired device — temperature sensors, motion detectors, smart plugs, bulbs — becomes a Home Assistant entity you can monitor, automate, and control without any cloud dependency or vendor hub.
Shopping List
| Item | Cost | Notes |
|---|---|---|
| Zigbee coordinator dongle | $20–45 | See recommendations below |
| USB extension cable (2–3 ft) | $5 | Required — prevents USB 3.0 interference |
| Home Assistant instance | — | Any platform (RPi, NUC, VM) with add-ons |
| Zigbee devices | varies | Sensors, plugs, bulbs — any Zigbee 3.0 device |
Coordinator Recommendations
The coordinator is the radio that talks to all your Zigbee devices. Pick the one that matches your setup:
| Model | Chip | Price | Best For |
|---|---|---|---|
| Sonoff ZBDongle-E | EFR32MG21 | $20 | Best value; works out of box with Z2M |
| Home Assistant SkyConnect | EFR32MG21 | $25 | Official HA hardware, dual-protocol (Zigbee + Thread) |
| SLZB-06 (POE) | EFR32MG21 | $45 | Remote placement via Ethernet; best for server-in-closet setups |
| SONOFF ZBDongle-P | CC2652P | $22 | Solid older option, higher PA power |
| TubeZB (CC2652P7) | CC2652P7 | $30 | EFR32MG21 is newer tech; only needed for very large networks |
My pick for most people: The Sonoff ZBDongle-E ($20) paired with a USB extension cable. It uses the Silicon Labs EFR32MG21 chip which is faster, has more flash, and is actively maintained. The extension cable is non-negotiable — USB 3.0 ports emit 2.4 GHz noise that cripples Zigbee reception when the dongle is plugged directly in [1].
Step 1: Flash the Coordinator Firmware
Most coordinators ship with router firmware, not coordinator firmware. You need to flash the right firmware before Zigbee2MQTT can use it.
What you need: Your dongle plugged into the machine running Home Assistant (or any computer — you can flash via the Zigbee2MQTT add-on’s built-in flasher).
Option A: Flash via Zigbee2MQTT Web Flasher (Easiest)
The Zigbee2MQTT project maintains a browser-based firmware flasher at zigbee2mqtt.io/firmware:
- Plug the dongle into your computer
- Open the web flasher in a Chromium-based browser (Edge, Chrome, Brave)
- Click “Connect” and select the dongle’s serial port
- Select your device model (e.g., “Sonoff ZBDongle-E”)
- Click “Flash” — it downloads and writes the firmware in about 30 seconds
Option B: Flash via the Zigbee2MQTT Add-on
If you’ve already installed the add-on (see Step 3), it has a built-in firmware flasher:
- In Home Assistant, go to Settings → Add-ons → Zigbee2MQTT → Configuration
- Tick “Firmware flashing is enabled”
- Start the add-on — it auto-flashes the coordinator on boot if needed
- Check the add-on logs for “Coordinator firmware version: …” to confirm
After flashing: Move the dongle to its final location using the USB extension cable. If you’re using a server-in-a-closet setup, this is where the SLZB-06’s Ethernet connection shines — you can mount the coordinator in a central hallway and run it over the network, avoiding the WiFi noise entirely.
Step 2: Install an MQTT Broker
Zigbee2MQTT speaks MQTT. Home Assistant speaks MQTT. You need a broker in the middle.
The Mosquitto add-on is the standard choice:
- In Home Assistant, go to Settings → Add-ons → Add-on Store
- Search for “Mosquitto broker”
- Click Install (takes ~2 minutes)
- Start the add-on — it auto-configures with Home Assistant’s built-in MQTT integration
- Go to Settings → Devices & Services → Add Integration → Search “MQTT”
- Enter any credentials it asks for (the add-on handles defaults)
Verify it works: In the Mosquitto logs, you should see “mosquitto version 2.x.x running.” Home Assistant’s MQTT integration shows as “Configured” in Devices & Services.
Step 3: Install Zigbee2MQTT
Now install the Zigbee2MQTT add-on:
- Home Assistant → Settings → Add-ons → Add-on Store
- Click the three dots (⋮) → Repositories
- Add:
https://github.com/zigbee2mqtt/hassio-zigbee2mqtt - Click Add → Close
- The repository appears in the store — find “Zigbee2MQTT” and click Install
- Wait for installation (~5 minutes depending on your hardware)
Configuration
After installation, go to the Zigbee2MQTT add-on Configuration tab. Paste the following, adjusting for your coordinator:
data_path: /config/zigbee2mqtt
devices: devices.yaml
groups: groups.yaml
homeassistant: true
permit_join: false
mqtt:
  server: mqtt://core-mosquitto:1883
  user: mqtt_user
  password: your_mqtt_password
serial:
  port: /dev/ttyUSB0
  adapter: ezsp
advanced:
  log_level: info
  pan_id: 0x1a62
  channel: 15
  network_key: GENERATE
Key configuration notes:
mqtt.server: If Mosquitto runs as a Home Assistant add-on, usemqtt://core-mosquitto:1883(the internal Docker hostname). If you run a standalone Mosquitto server, use its IP address.serial.port: Find yours by checking Home Assistant → Settings → System → Hardware → All Hardware. Look for “USB” or “CP2102” devices. Common values:/dev/ttyUSB0,/dev/ttyAMA0, or/dev/serial/by-id/usb-...serial.adapter: Useezspfor EFR32-based dongles (ZBDongle-E, SkyConnect, SLZB-06). Useemberfor older CC2652-based dongles. Usezigatefor Texas Instruments-based coordinators. The wrong adapter type causes connection failures.permit_join: false: Keep this off after initial pairing — leaving it on lets neighbors pair devices to your network.channel: 15: Channel 15, 20, or 25 are best because they avoid overlapping with common WiFi channels 1, 6, and 11 [2]. Check your WiFi channels first.network_key: GENERATE: Zigbee2MQTT auto-generates a key on first run. Keep a copy of it — you’ll need it if you ever need to rebuild the coordinator.
Start the add-on. Watch the Log tab for:
Zigbee2MQTT:info  2026-07-01 12:00:00: Connecting to MQTT server at core-mosquitto:1883
Zigbee2MQTT:info  2026-07-01 12:00:01: Connected to MQTT server
Zigbee2MQTT:info  2026-07-01 12:00:02: Zigbee: allowing new devices to join.
Zigbee2MQTT:info  2026-07-01 12:00:03: Coordinator firmware version: 7.4.1.0 build 0
If you see “Connected to MQTT server” and a coordinator firmware version, you’re live.
Step 4: Pair Your First Device
- Open the Zigbee2MQTT frontend: In Home Assistant, go to Settings → Add-ons → Zigbee2MQTT → Open Web UI
- Click “Permit join (All)” — this opens the network for 2 minutes
- Put your device in pairing mode:
- Smart plug: Hold the power button for 5 seconds until the LED blinks rapidly
- Aqara sensor: Press and hold the side button for 5 seconds
- IKEA bulb: Flip the wall switch on-off-on-off-on (6 cycles total) — the bulb pulses dimly to confirm
- Third Reality device: Press the pairing button 3 times quickly
- The Zigbee2MQTT dashboard shows “Device joined” with its IEEE address (a 64-bit hex ID like
0x00158d0003c4e123) - Expose the device to Home Assistant: Click the device in the Z2M dashboard → check that it has a green checkmark under “Home Assistant”
First-device tip: Start with a non-critical device like a smart plug. If pairing fails, you can reset it without impacting your setup. Once you confirm the process works, pair the rest.
Why devices fail to pair: The most common reasons are (a) the coordinator is too far from the device — move them within 10 feet for first pairing, then relocate, (b) permit_join expired — click it again, (c) the device is already paired to another network — factory reset it first.
Step 5: Build a Dashboard and Automations
Once devices appear in Home Assistant (they auto-discover through MQTT), you can use them in automations and dashboards. Here’s a starter automation that turns on a lamp when motion is detected:
alias: Hallway Light on Motion
trigger:
  - platform: state
    entity_id: binary_sensor.hallway_motion_occupancy
    to: "on"
action:
  - service: light.turn_on
    target:
      entity_id: light.hallway_lamp
    data:
      brightness_pct: 80
mode: single
And a dashboard card grouping a room’s devices:
type: entities
title: Living Room
entities:
  - entity: sensor.living_room_temperature
    name: Temperature
  - entity: sensor.living_room_humidity
    name: Humidity
  - entity: light.living_room_lamp
    name: Floor Lamp
  - entity: switch.living_room_plug
    name: Plug
Step 6: Optimize Your Zigbee Network
Channel Selection
Run a WiFi scan on your router and check which channels are congested. Zigbee channels 11–26 correspond to 2.405–2.480 GHz. Channels 15, 20, and 25 sit between the crowded WiFi channels 1, 6, and 11 [2]:
| WiFi Channel | Frequency | Overlaps Zigbee |
|---|---|---|
| 1 (2.412 GHz) | Low | 11, 12, 13, 14 |
| 6 (2.437 GHz) | Mid | 16, 17, 18, 19 |
| 11 (2.462 GHz) | High | 21, 22, 23, 24 |
Set your Zigbee channel to 15, 20, or 25 — whichever is farthest from your WiFi network. Change it in the Zigbee2MQTT configuration and restart.
Router Placement
Every mains-powered Zigbee device (plugs, bulbs, smart switches) acts as a router, extending the mesh. Battery-powered sensors do not — they’re end devices that talk only to a router or coordinator.
To build a strong mesh: Place powered devices strategically. A smart plug in the hallway between the coordinator (in the server room) and the Aqara sensor (in the bedroom) turns a weak signal into a reliable connection. The Zigbee2MQTT network map shows the mesh topology — open the frontend and look under “Map” to see which devices route through which neighbors.
Device Limit
A single coordinator supports roughly 80–150 devices, depending on the chip. The EFR32MG21 handles ~80 devices comfortably [3]. For larger networks, plan a second coordinator on a different channel, or upgrade to a CC2652P7 or SLZB-06 which can manage 200+.
Troubleshooting
| Symptom | Likely Cause | Fix |
|---|---|---|
| Coordinator not found | Wrong serial port or adapter type | Check dmesg on the HA host for cp210x or ch341; try /dev/serial/by-id/ paths |
| “Cannot connect to MQTT” | Wrong MQTT URL or credentials | Verify mqtt.server and credentials match Mosquitto add-on config |
| Device pairs then disconnects | Interference from USB 3.0 | Use a 2–3 ft USB extension cable, move dongle away from the server |
| Aqara devices unreachable | Aqara devices are picky about routers | Pair a powered IKEA or Philips bulb between the coordinator and Aqara devices |
| Random devices go offline | Weak mesh or channel interference | Change Zigbee channel (try 15, 20, or 25); check Map view for weak links |
| OTA update fails | Device doesn’t support OTA via Z2M | Check the Z2M supported devices list before buying |
| Z2M frontend not loading | Add-on web UI port conflict | The add-on should bind to port 8080; check add-on config for frontend.port |
What You’ve Built
You now have a production Zigbee network running entirely locally — no cloud accounts, no vendor hubs, no internet dependency for light switches to work. Every paired device appears in Home Assistant as a native entity. The Zigbee2MQTT dashboard gives you signal strength, routing topology, and OTA firmware updates for supported devices.
The total cost for a starter setup: $20 for the coordinator (Sonoff ZBDongle-E) [5], $5 for the USB extension cable, and whatever Zigbee devices you add. Compare that to vendor hubs at $40–80 each that only work with one brand’s devices — a Hue Hub only talks to Philips bulbs, a SmartThings Hub is locked to Samsung’s ecosystem. Zigbee2MQTT works with any Zigbee 3.0 device from any manufacturer, on a single network.
Going Further
- Back up your coordinator: Copy
coordinator_backup.jsonfrom the Zigbee2MQTT data path. If the dongle dies, flash a new one and restore this backup — all paired devices rejoin without re-pairing. - Use the Zigbee2MQTT network map: Open the frontend → Map. You’ll see which devices route through which routers. Add powered devices where you see daisy-chains of battery sensors — each chain should be broken by a mains-powered router.
- Explore device-specific configs: Some devices support features beyond the default — configuring Aqara FP2 presence sensors, updating IKEA bulb firmware, or adjusting Xiaomi sensor reporting intervals. Check the Z2M device page for your specific model.
Sources: [1] USB 3.0 2.4 GHz interference with wireless devices — Intel white paper [2] Zigbee and WiFi coexistence best practices — Texas Instruments Application Note AN1239 [3] Zigbee2MQTT official installation guide — https://www.zigbee2mqtt.io/guide/installation/ [4] Home Assistant Mosquitto MQTT add-on docs — https://github.com/home-assistant/addons/blob/master/mosquitto/DOCS.md [5] Sonoff ZBDongle-E coordinator firmware — https://sonoff.tech/product/gateway-and-zigbee-devices/zbdongle-e/ [6] Supported Zigbee2MQTT devices list — https://www.zigbee2mqtt.io/supported-devices/ [7] SLZB-06 PoE coordinator — https://smlight.tech/product/slzb-06/
← Back to guides